- Use the magazine style brochure that you designed in Module 5. Add a spot varnish to the cover and change the design to use spot colours. (You are welcome also make layout changes if you want to.) For your magazine, use a spot varnish for the cover and design it using two spot colours.
- Make use of your checklist that you designed and prepare the file for print.
- Decide what paper weight and type you will use.
- Decide what type of binding you will use, for example, saddle stich, perfect bind, etc. (See the printing terms link.)
- Upload the print-ready PDF to your blog and post screenshots of your packaged files, and instructions.
Make sure to include the instructions (like spot varnish, paper choice and binding) in the file.
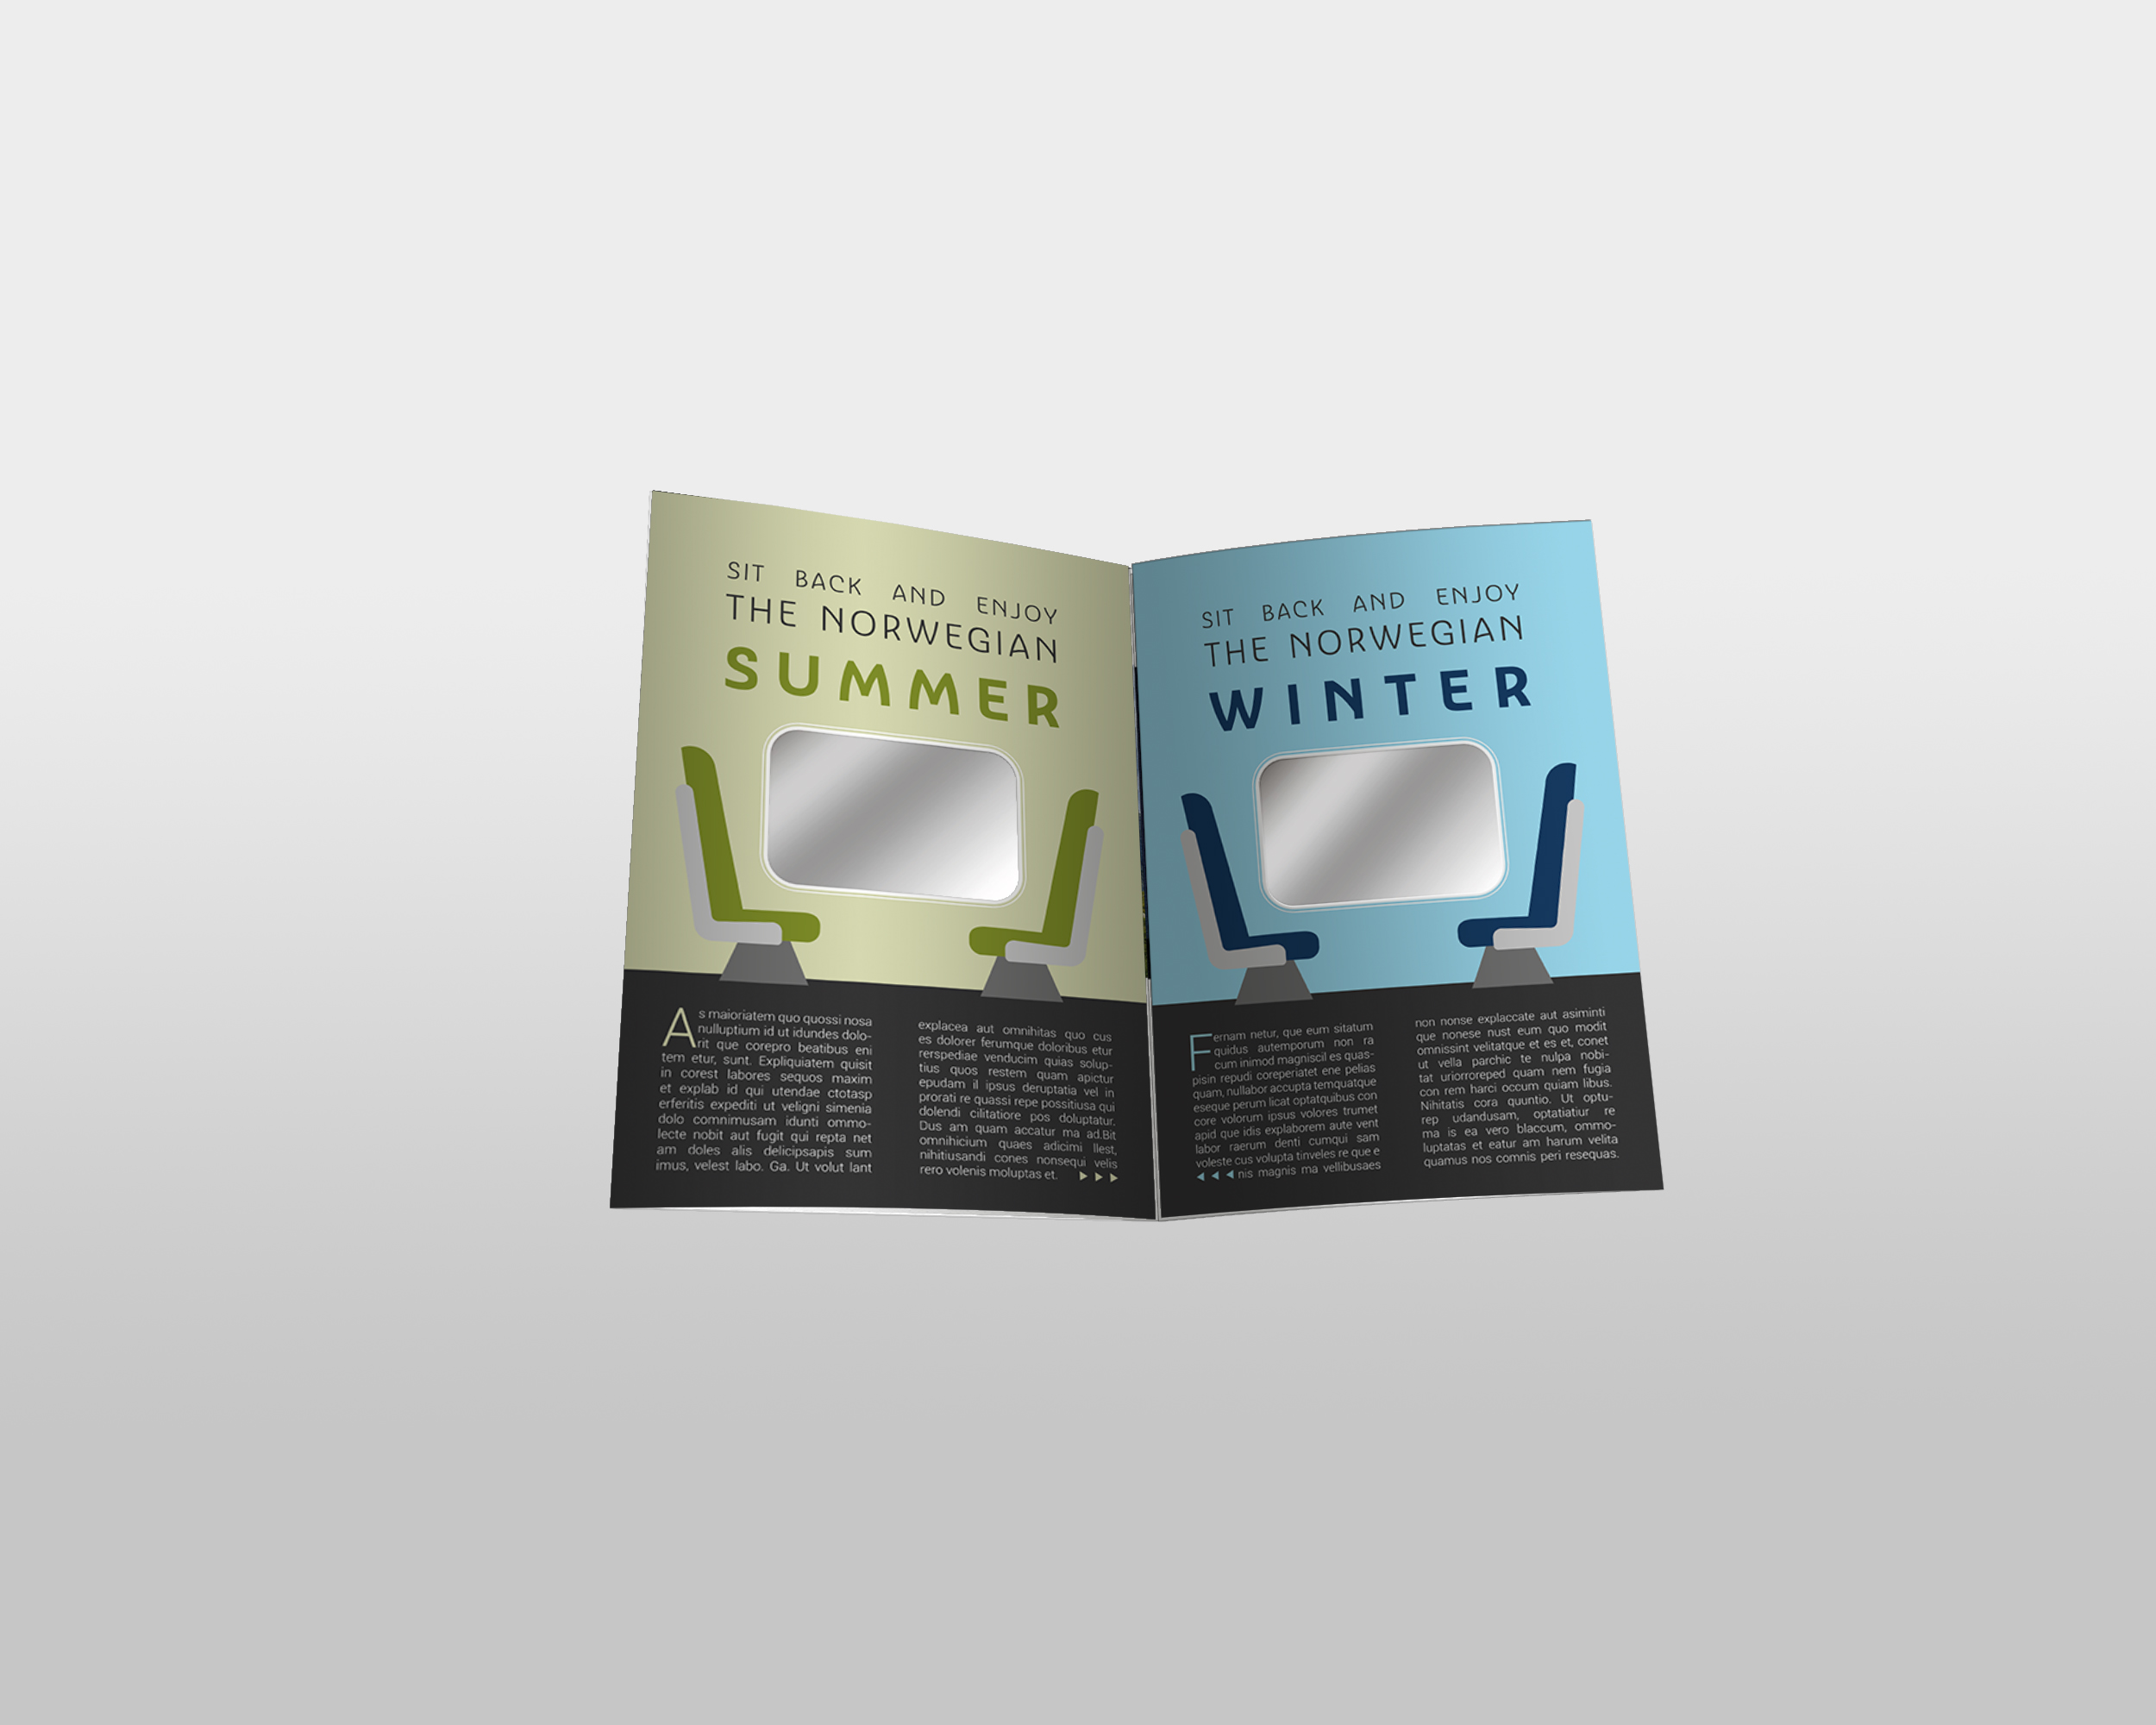
I chose to make a metallic spot varnish inside of the cut-out windows, instead of having them empty.

Here is a mock-up of how the brochure will look like when it is printed with the metallic spot varnish:

Inside of Adobe Acrobat I checked the PDF to see if there was any RGB content in the document, which there wasn’t.

I did the same to see only the CMYK colours.

…and the same to see only the spot colour

Here is the packaged files

Here are the instructions where type of binding, spot varnish and paper weight is included

Norwegian train tours brochure with spot
.
Last ned • 5.31MB