1.1 Product photography basics
Shadows
- Should be soft or absent
- Avoid harsh shadows
Lighting
- Should be soft
- Should come from many angles to light up the product evenly
- Should be “daylight”, meaning it should not be too cold (blue) or too warm (yellow)
- Should be evaluated depending on the texture of the object
Quality
- Use a tripod
- Do not use image stabilization while using a tripod
- Use the timer (to avoid shaking the camera while taking the photograph)
- Set camera to manual
- Set the cameras white balance to sunny
- Choose the highest resolution setting on the camera
- Choose camera RAW as file format
- Set the correct f-stop carefully to get the perfect focus on the object
- Set the shutter speed to 1/8 or above (the lower shutter speed, the more grain you might get)
ISO
- Set the ISO to the lowest possible (not higher than 100)
Editing
- Only do editing that is really necessary, like:
- Cropping the image
- Clean up undesirable marks
- Some sharpening
- Adjust the levels
- If you feel like you have to do even more editing, you should consider taking the product photograph again
1.2 Mastering the art of product photography
1 DIY light tent
I made a light tent out of cardboard, white paper and food paper/sandwich paper. I used the food paper since it is a little bit translucent but softens the light enough.

2 Product photographs
Something fluffy
As shot:

After editing:

Lighting setup:

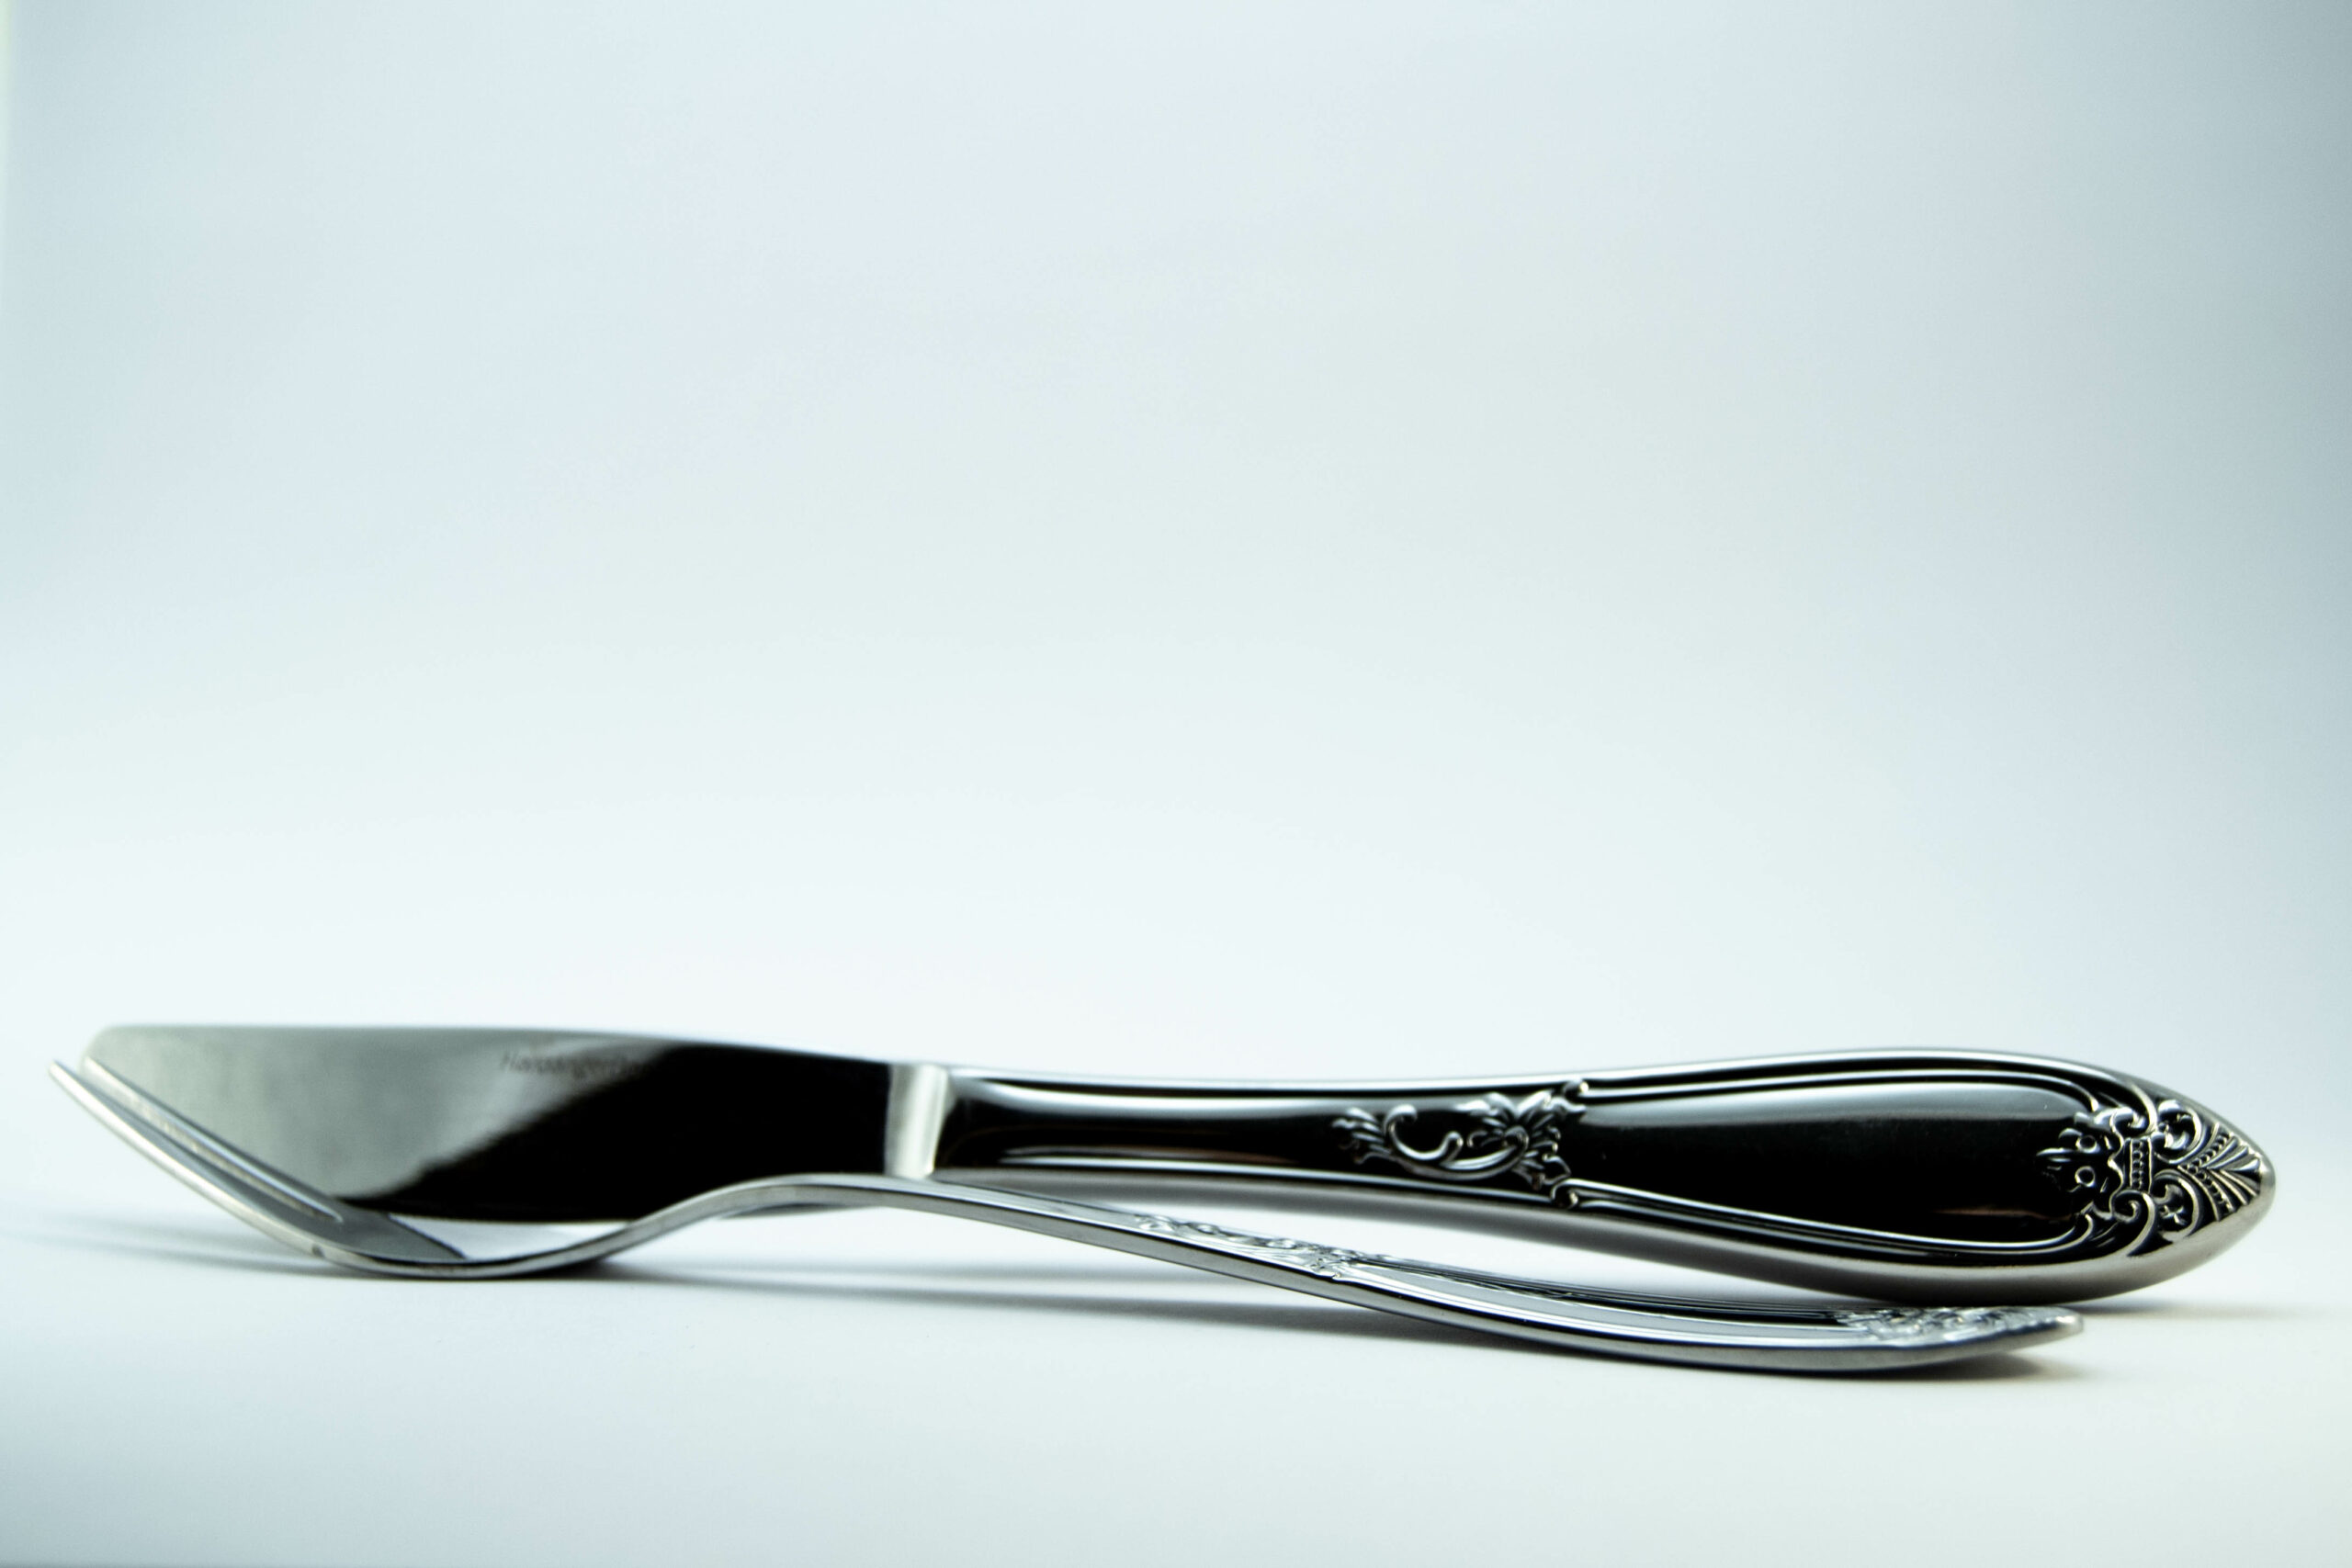
Something shiny
As shot:

After editing:

Lighting setup:

Something hard
As shot:

After editing:

Lighting setup:

A liquid
As shot:

After editing:

Lighting setup: